Movie Poster parodies are a fun and hard working project, below is a quick guide on how I completed mine.
examples of movie parody |

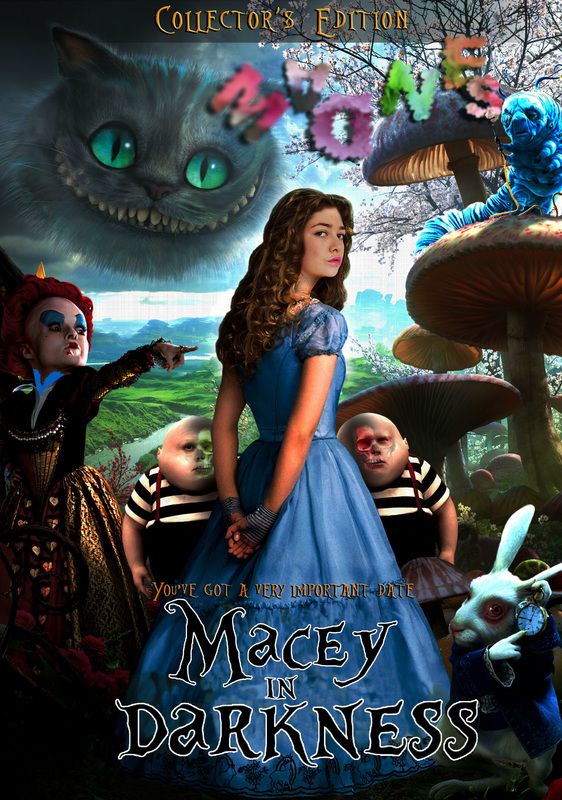
Above is my movie parody poster and here is my guide:
1. Select a movie poster you are interested in or believe you could have some fun with.
2.Begin by taking some photos of yourself to apply to the poster. Once you have photos open in photoshop.
3. Once the image is open, unlock the image by double clicking then select the magic wand tool located on the left side bar. Click the areas you would like to remove and hit the Delete button.
4. After you have deleted the areas and your face is left select with the magic wand and right click on the image on the right side bar. Select blending options, here you will be able to change the smoothness of the edges.
5. Select the mouse button and then the image, drag the image to the movie poster and place where you would like it. Ctrl+t will help change the size and angle of the image.
6. On the right hand side lower the opacity so you can just see the movie poster through the image. Once this is done move your image to fit in line with the poster.
7. Put the opacity to its original state and use the eraser to blend by changing the opacity level. Using the Brightness/Contrast and Hue/Saturation change the images colours to match the poster.
8. To change the title click on the stamp tool, to cover the area you would like to press Alt over a area of similar colour and then start colouring the area you want to cover up with the stamp.
9. Make sure you keep collaborating the colour to match. Once completed find a similar font and repeat the steps from above to get the letters!
10. Now you have a movie parody poster! using these steps you are able to add more to the poster if you would like to!!
